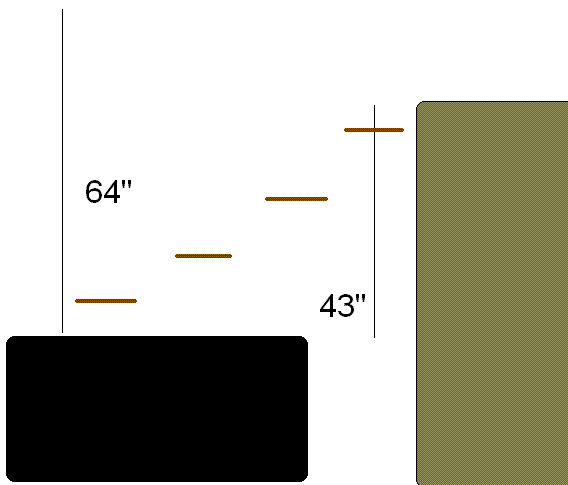
(couch on the left, entertainment center on the right)
My requirements for this cat ladder were:
1. Sturdy and safe
2. Nonslip, kitty-friendly surface to protect overexcited kitties from sliding death
3. Attractive enough to blend in with the living room decor
4. Easy to fabricate in a single evening with minimal tools
5. Cost effective. I set myself a budget of a halfway decent retail cat playground-$80.
Some internetting turned up some interesting homebrew results using Ikea components, so I decided to go to Ikea and see what I could see that matched up with my requirements.
Due to some compromises on size, and some sales, I was actually able to keep it down to $60. You might have to spend more if you don't think your kitties are nimble enough to use 7" deep shelves (they're also available in 11" or 15"), or if you want more shelves, or longer shelves, but the idea is generally the same. On to the hack...
Ikea Materials list:
ROSKILDE Rug x 1 http://www.ikea.com/us/en/catalog/products/80100487 (I think, it was similar to this and on sale for $1.99)
BJÄRNUM 7 1/2" x 4 http://www.ikea.com/us/en/catalog/products/10032411
JÄRPEN x 2 http://www.ikea.com/us/en/catalog/products/00110466
FIXA wall anchors and screws
Other supplies, in order of appearance:
Wood Saw
Scissors
Sewing Machine (or needle and thread + more freetime/patience than I had)
Hammer
Flexible Metal Puddy knife
Hot Glue Gun and Glue
Optional mounting supplies:
Stud Finder/Level/Drill with screw attachement
Directions:
1. Using your wood saw, cut your JÄRPEN to the desired lengths. I made the logical (and cost-efficient) decision to just make four shelves of equal size, so I just cut each of my 31" boards in half.
2. Cut a rectangle of your ROSKILDE rug the same shape and size as the top of each of your shelves.
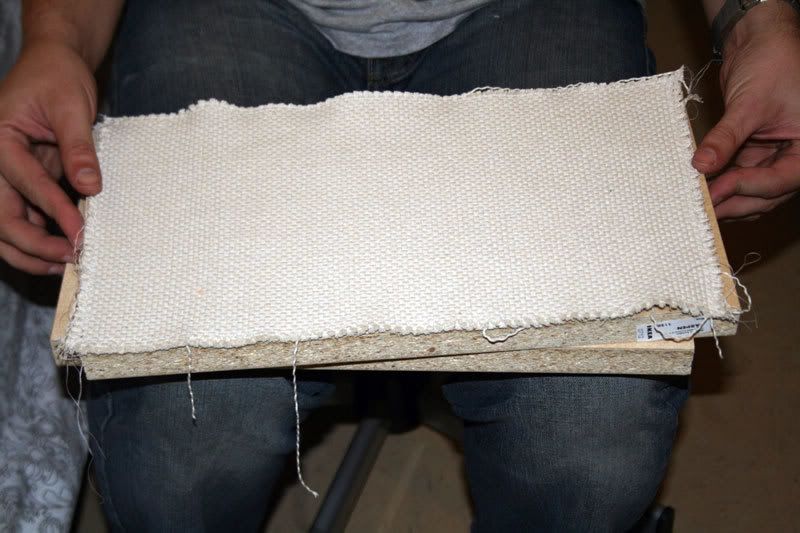
3. Hem this on all four edges by the method of your choice.
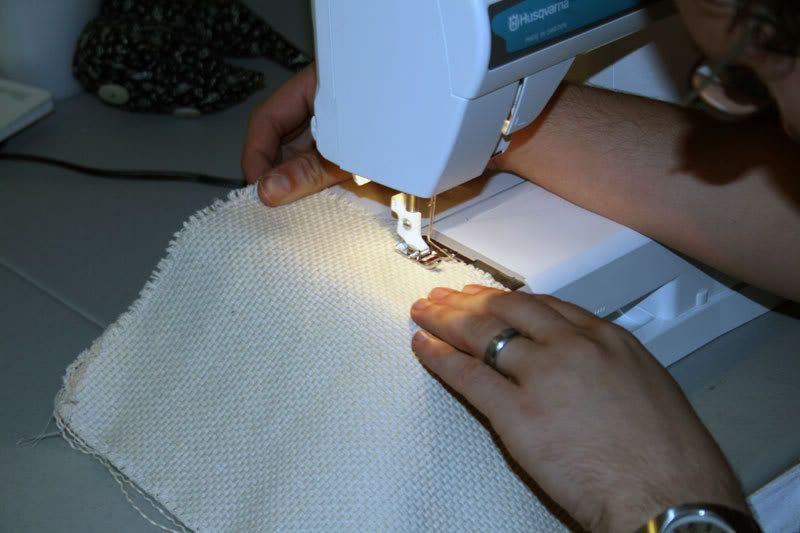
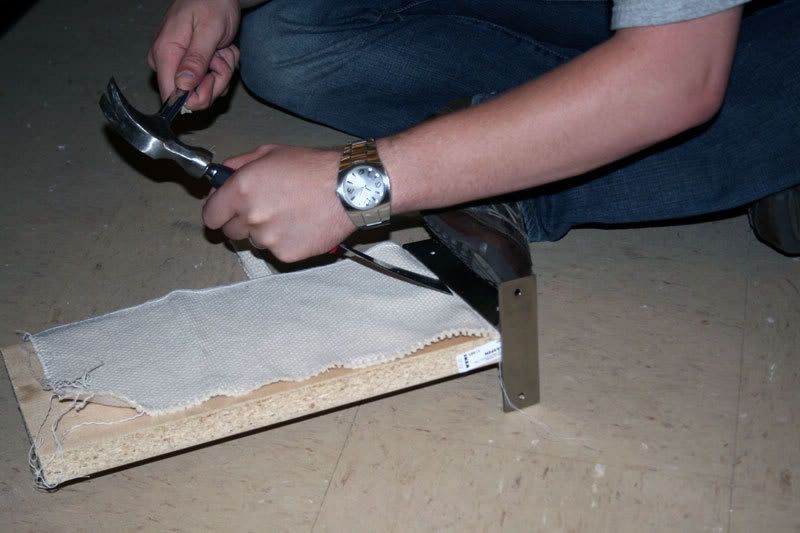
4. Sandwich one end of the cover and the JÄRPEN into your BJÄRNUM bracket. Don't worry if you aren't perfect.
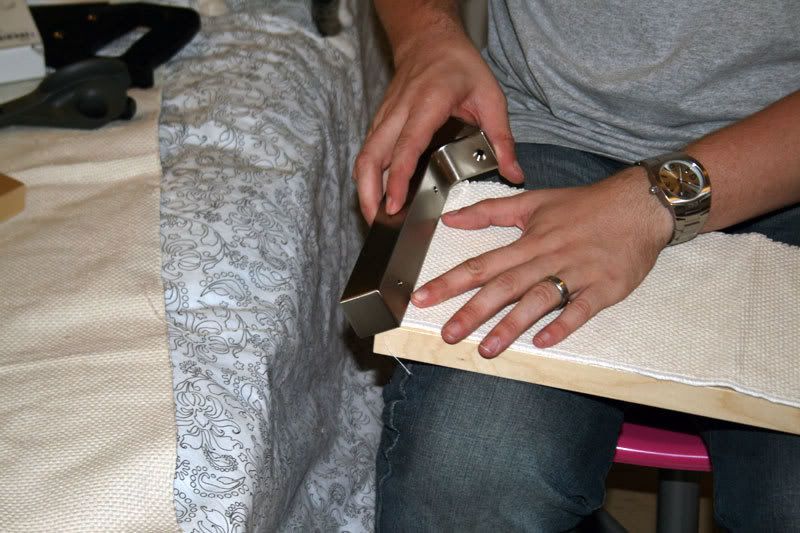
5. Use the hammer to force the wood all the way into the metal bracket, and use your putty knife and hammer to straighten the fabric.
5. Install the other side of the BJÄRNUM. Don't worry about getting the fabric sandwiched at this phase, it is way too frustrating and unneccessary.
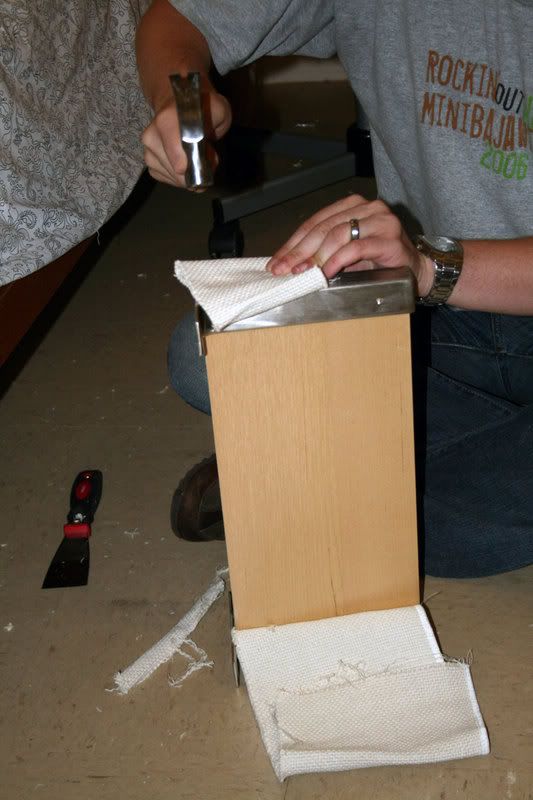
7. Using your puddy knife, drive the rug fabric into the crack between the JÄRPEN and the BJÄRNUM. This should take most of the slop out of the rug.
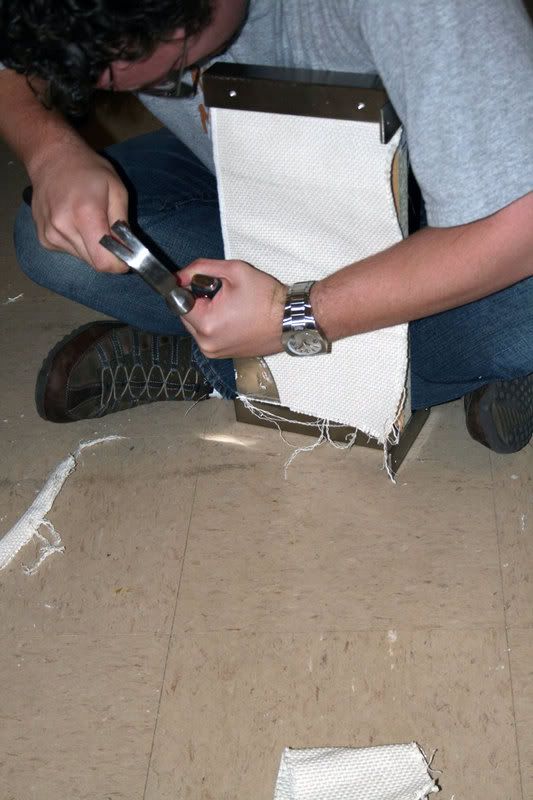
8. Once the fabric is fully installed, lift the edges one at a time and apply hot glue to keep it from sliding sideways.
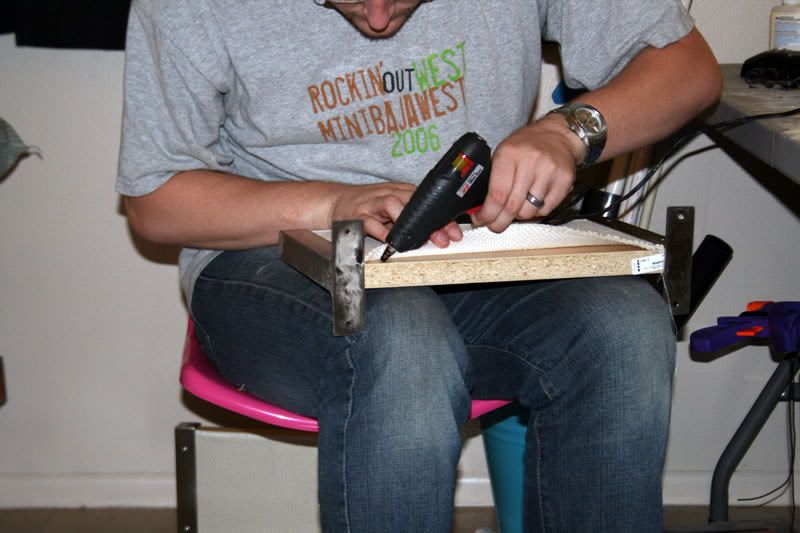
9. And, you're done!
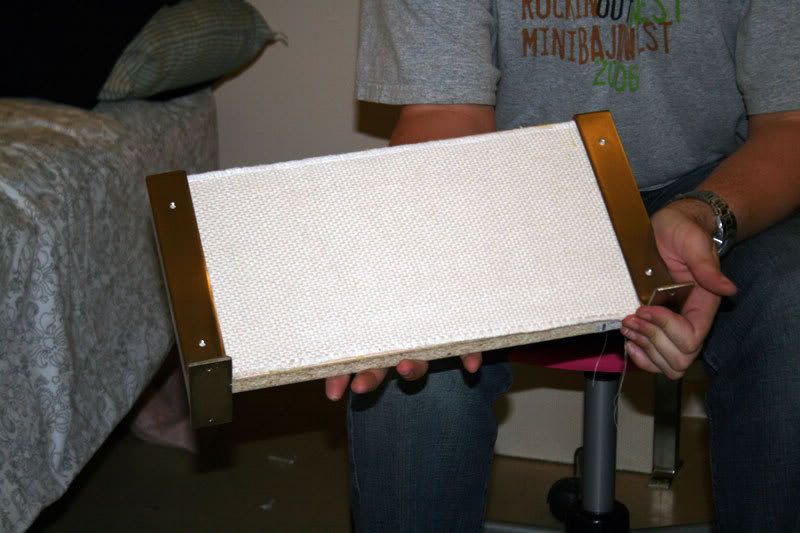
Install in the location of your choice by whatever method you want. I recommend picking a stud for at least one side, and using the very-capable FIXA drywall anchors for the other side. It took my cats a couple says to realize that they had a new toy (I didn't want to force them onto it, the curious exploration was half the fun!) but now they use it quite frequently. They like being able to get to the highest point in the house, and I like being able to watch my cats be cute and the TV at the same time.
(ed: Original posting date: 9-6-2007)
1 comment:
Thanks for the great idea. I hope these shelves are still available. Love your explicit instructions and great photos.
Post a Comment