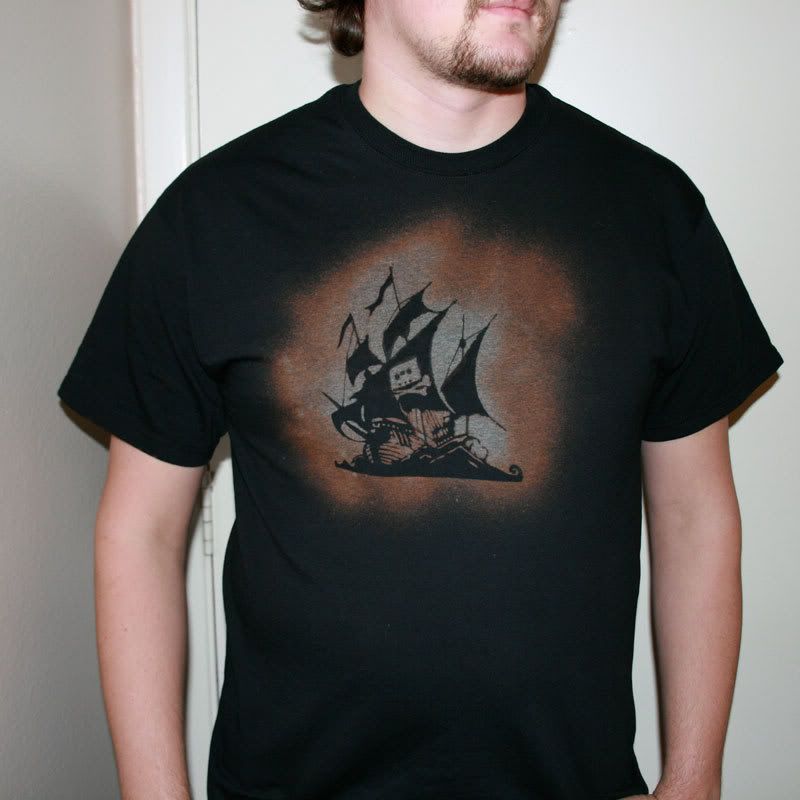
This is what you'll be making:
Supplies you'll need:
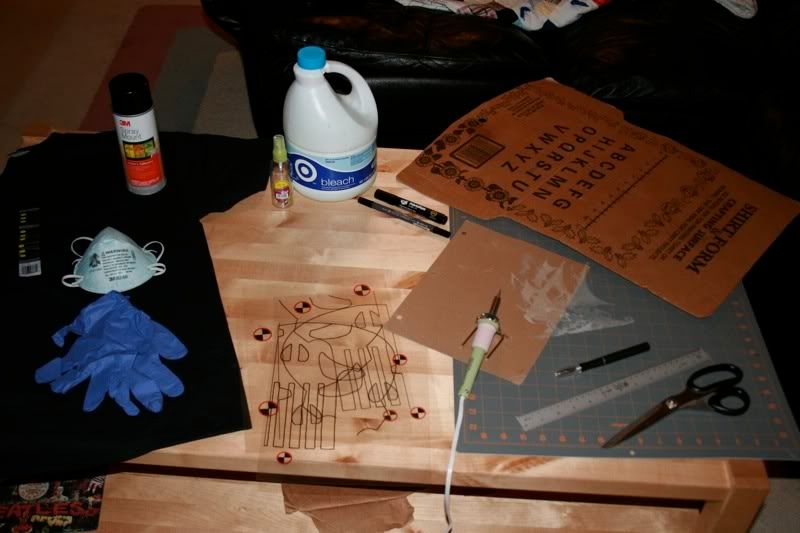
- A shirt--at least 50% cotton. Black is easiest to touch up afterwards, and usually has the coolest effects. I haven't experimented with other colors yet, although I've bought a few, so stay tuned

- Bleach, and Bleach Accessories--This includes bleach filtering mask (look, they have on especially for that), nitrile gloves (not totally neccessary), clothes you don't care about (not shown), bleach (duh), and a couple fifty cent misting spray bottles from walmart.
- A stencil, or a design on some stencil material and a way to Cut It--The three basic ways to cut stencils are use a razor or exacto knife, use scissors, or burn them with a soldering iron. All three have their strengths for different applications. Don't try this with any non-plastic stencil materials. Cardboard won't work, neither will paper. Shelf paper works great, and is already sticky on one side, so you won't need adhesive. I use overhead transparencies, because they fit in my printer and I already have a grip of them.
- Some Other stuff--Some spray mount adhesive (experiment with anything from 3m if you have to, but repositionable stuff is best), a t-shirt board (bought or cut out of a box), and some fabric dye pens in case you screw up, or to add difficult detail
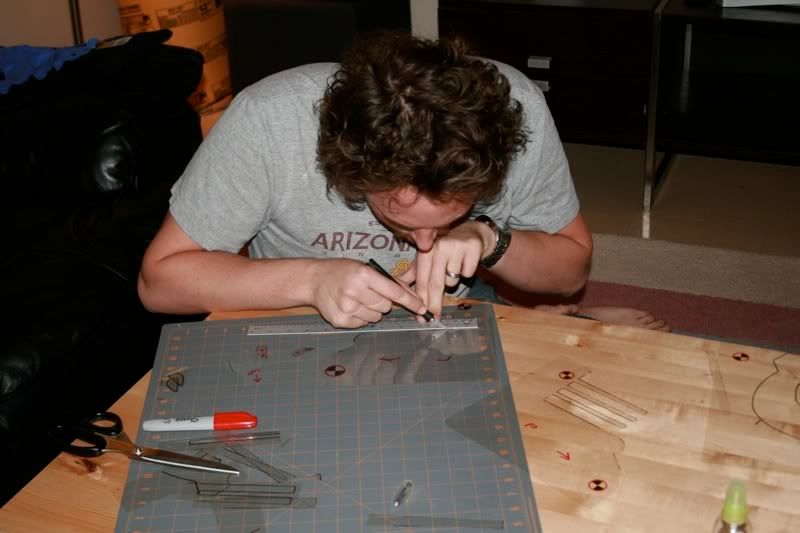
Because I want this to be a very large design, I printed four stencils with alignment marks. I'm using an exacto knife and a metal ruler to get nice crisp straight lines everywhere it's straight...
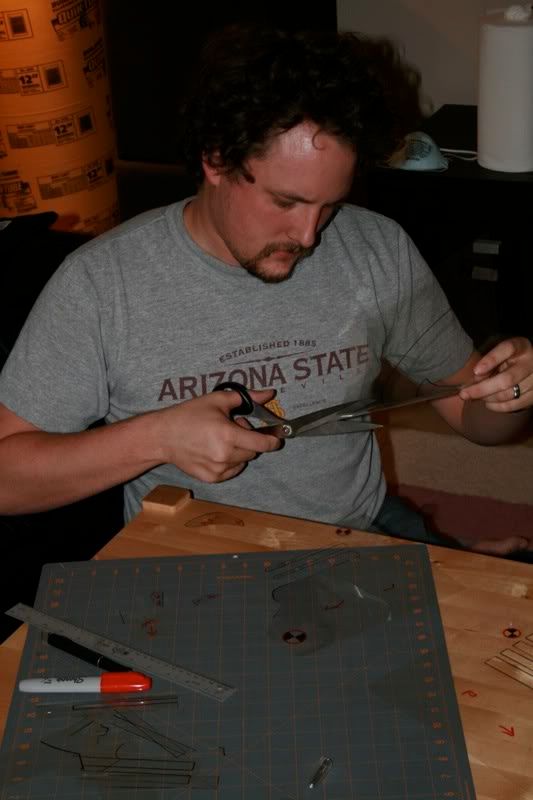
...and scissors anywhere it's curved. Good rule of thumb.
[insert one hour of watching Tila Tequilla's Shot at Love here]
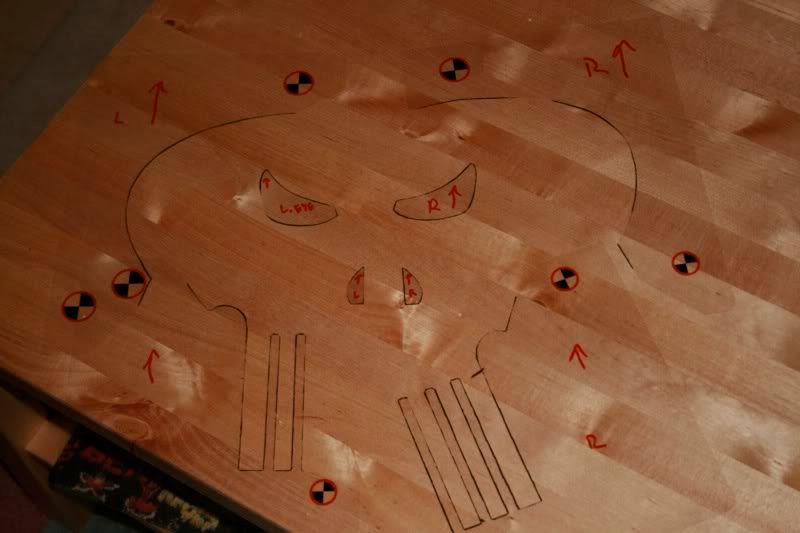
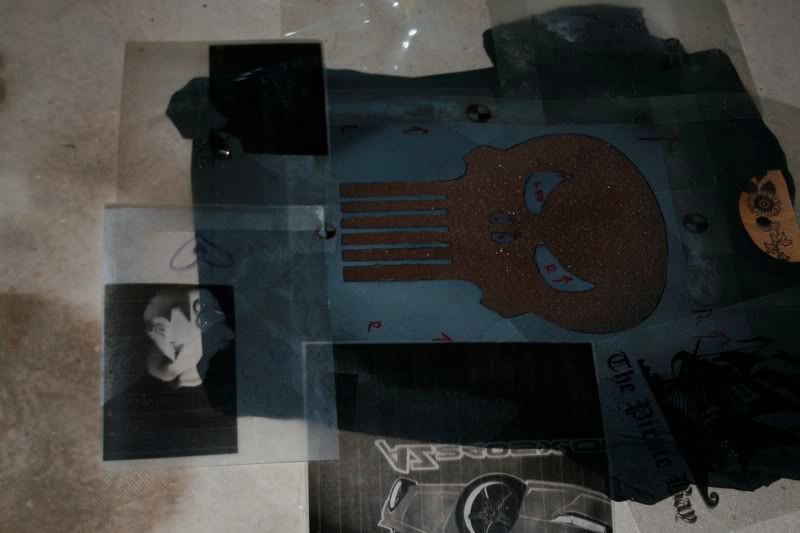
Ok, got my stencils all nice and cut out (and in this case, labeled, so I don't mix up the parts). Time to stick them on the shirt.

A little spray adhesive to stick the shirt to the shirt board so that we have a nice smooth surface to work with
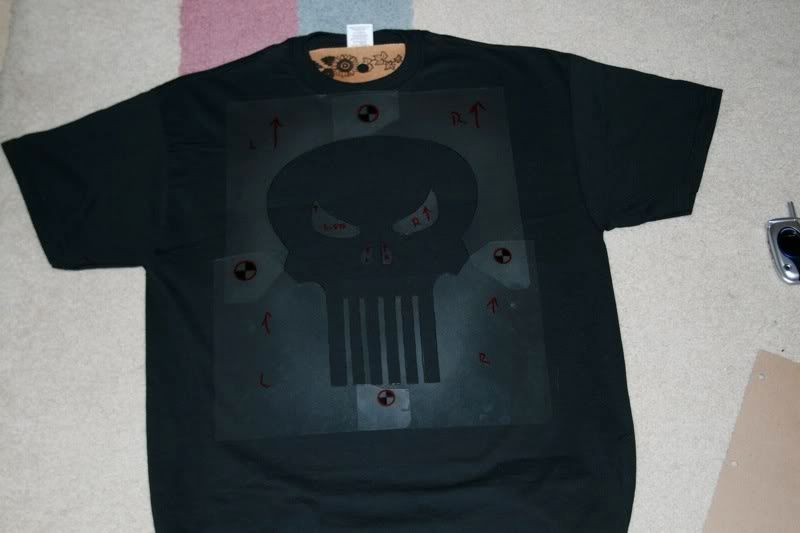
Hit your stencil with a light dose of adhesive, and, with a little careful layout work, (unless you don't care if it's edgy and off center), mount it up.
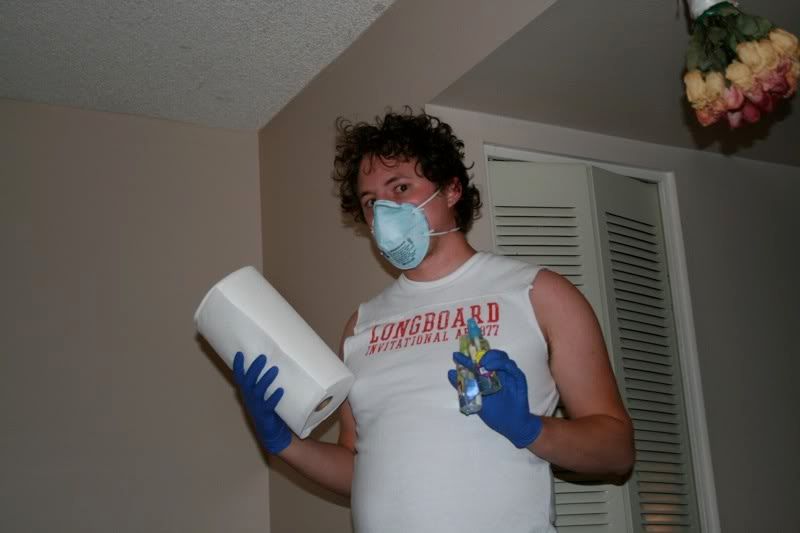
Bleach is some toxic shit, yo. Wear nappy clothes (or all white if possible), nitrile gloves, and a bleach mask...your lungs will thank you!
To reduce overspray and bleeding, try to keep your sprays light and misty, and from the same angle.
It starts developing almost immediately. If you want to create layers, you can spray different strengths of bleach. The two I used in this shirt were straight and about 30 bleach/70 water. Let it sit as long as you like. I let this one sit for one commercial break (12 minutes?) because I was impatient, but I bet it would have gotten whiter if I'd left it longer.
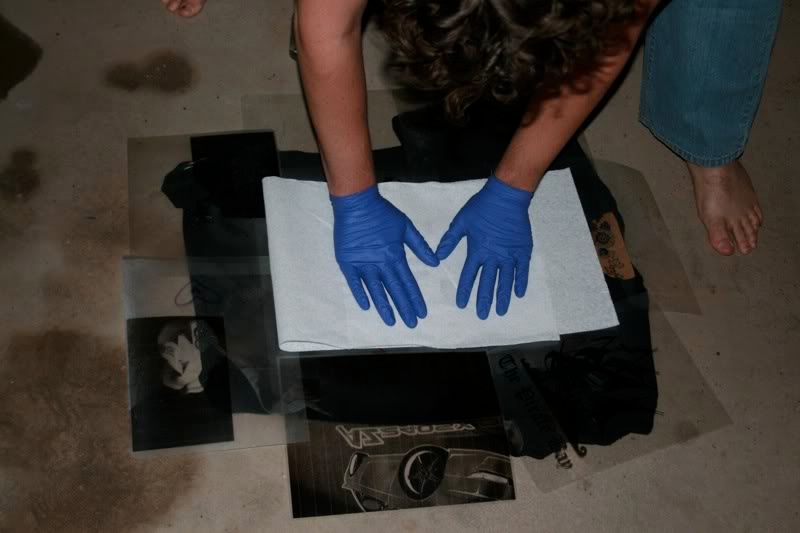
Bleach builds up on your stencil, so pat it dry before tilting or you'll get runs.
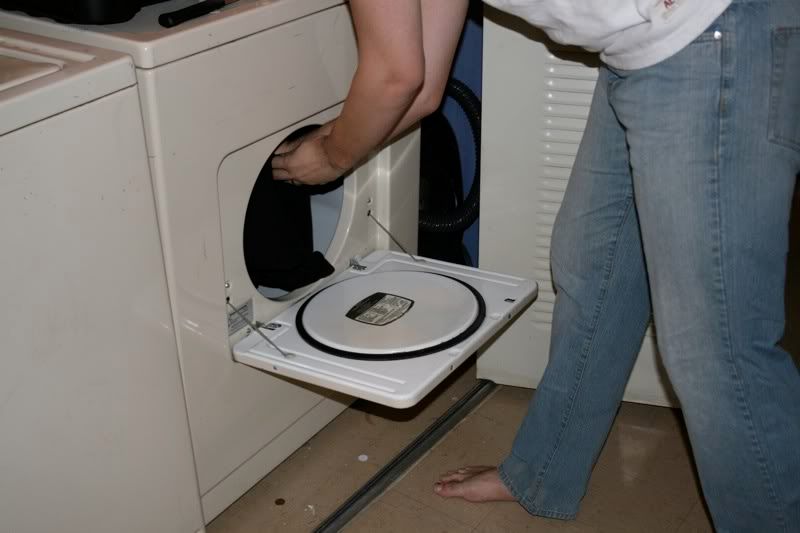
Rip it off the board and chuck it straight in the dryer before the bleach has time to spread. Couple minutes should be enough to get it dry...any longer, and you're using too much bleach!
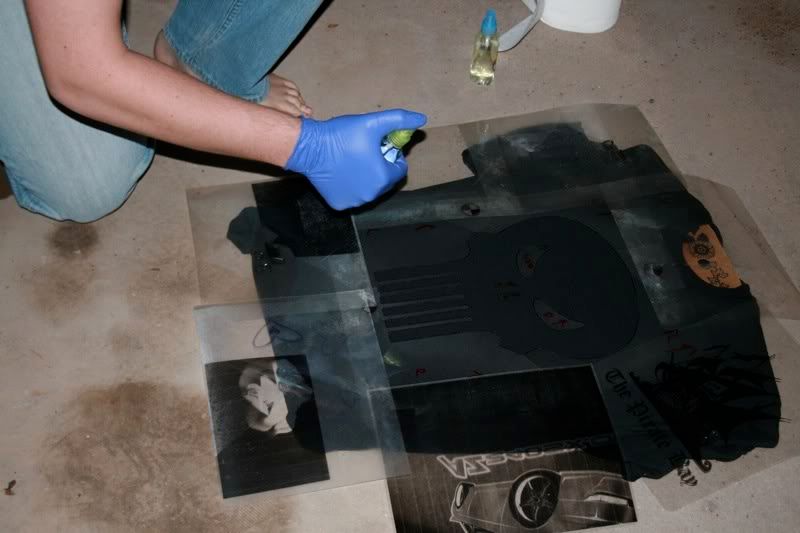
ed: I have since learned that it is better to chemically cancel the bleach by soaking the garment in hydrogen peroxide, before drying. This chemically stops the bleaching process, and will keep it from eventually damaging your shirt. Also, any dye needs to be heat set with an iron or it will bleed when you wash it.
My camerawoman wandered off while I was doing touchup, but if any bleach got under your stencils, you can take a fabric dye pen and clean up your lines, if you are going for a nice clean look. Otherwise, just let'er rip.

When hobbies colide! I'm pretty happy with how this turned out, espcially the shading...that didn't just happen, i tried to blend between the darker 30% and the lighter 100%, and I'd say with good results. I'd say it is at least as nice as the $17 punisher shirt I almost bought last week at Hot Topic, and it only cost me $2.50 at Michaels. Plus I got to be creative. Yay DIY!
(ed: originally posted 10-29-2007)
No comments:
Post a Comment