I also had some uncommon raw materials that were dug out of the trash (full disclosure: at my previous place of employment.) Specifically, some pieces of a Wall Furniture Unit. It is meant to be used thusly:

but I had some miscellaneous pieces (and a stick of cable management) on my hands and decided to repurpose them into..
"Semi-DIY, Wall-Mounted, Recharging Station/Laptop Desk/Every-Day-Carry Organizer" (SDIYWMRS/LD/EDCO? Catchy!)
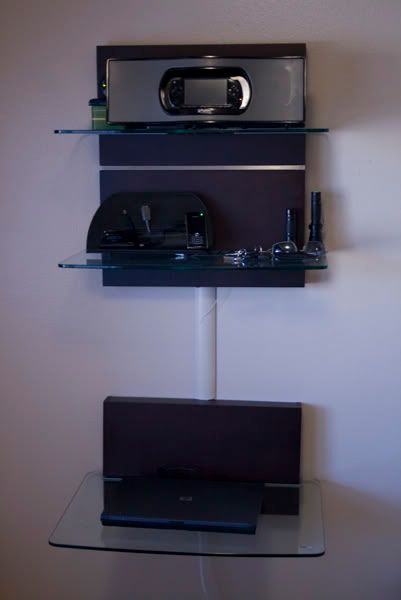
Features:
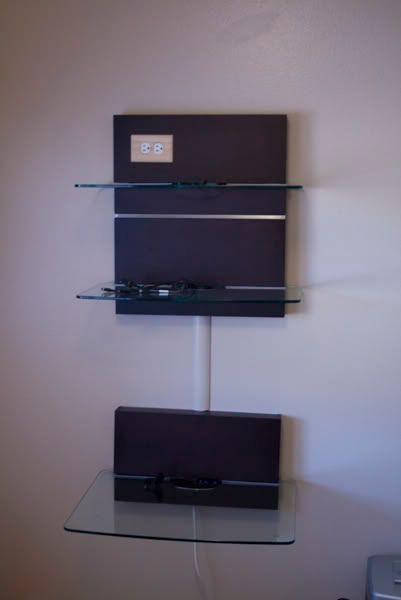
Bottom laptop shelf is desk height (29" or so, I don't remember) for emergency desk use. It's in the breakfast nook, so it's not hard to just flip a chair around and type.
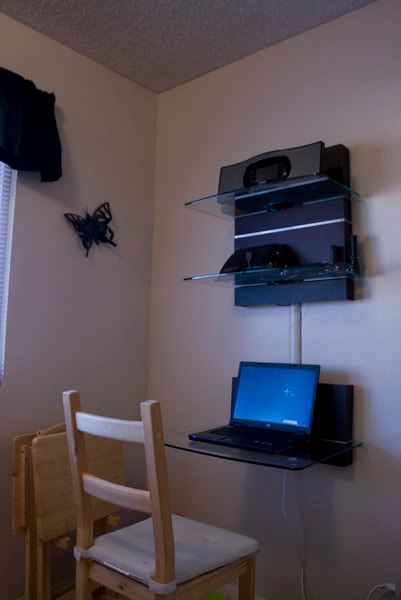
Middle shelf holds everything I carry on me every day (keys, wallet, flashlight, sunglasses, work badge, etc), as well as my cell phone, all in one place. This is right by my carport door, so I just load and unload on my way in and out of the house.
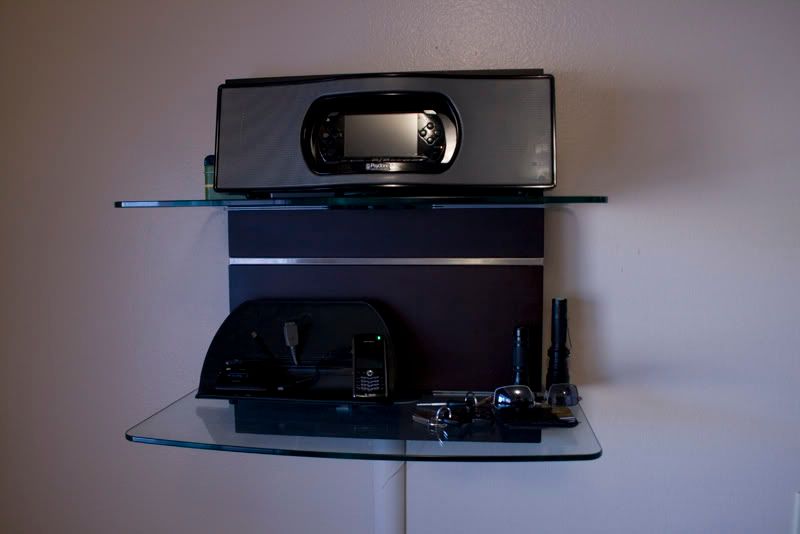
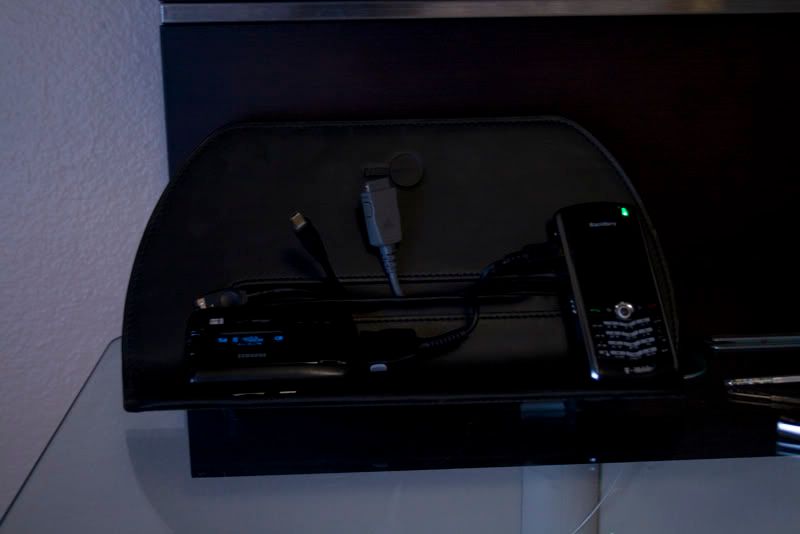
Middle shelf also organizes all of my chargers for various phones, gameboys, portable DVD players, MP3 players, cameras, etc. The little phone stand/organizer thingy was picked up at a tradeshow.
The top shelf has both a media dock (with IR remote!)-slash-charger for the PSP and an exposed outlet for outlet battery chargers (shown: universal Canon charger with fittings for my three Canon cameras in the little green box. Not shown: the charger for my cordless drill batteries)
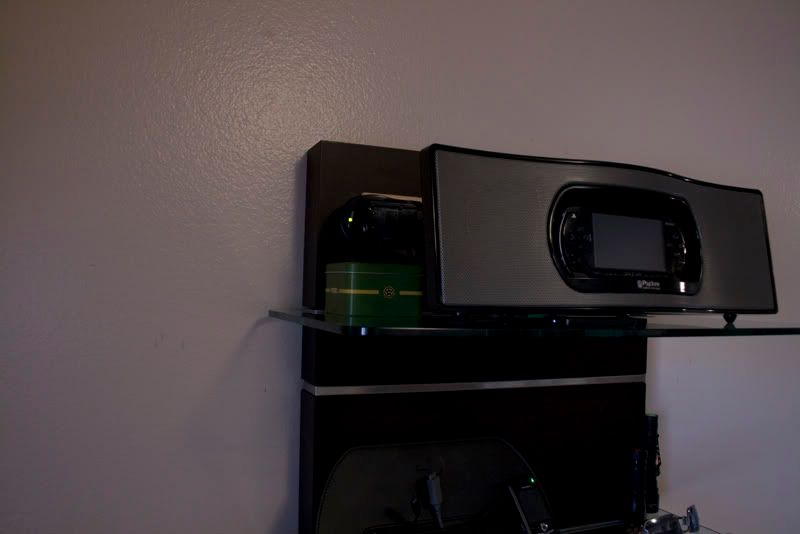
Now, this (and other recharging stations) isn't so much a DIY project (strictly speaking) as it is an idea...mine just happened to have (pats self on back) a particularly slick implimentation. I suggest that everyone figure out SOME solution that works with their house and life, and do it! Don't just tolerate having cord mess when there are so many better ways to make your life simpler and neater.
Now, with that "The More You know!" out of the way, here are the guts of my particular charging project, hopefully to inspire you to create one of your own:
Here it is 'naked':
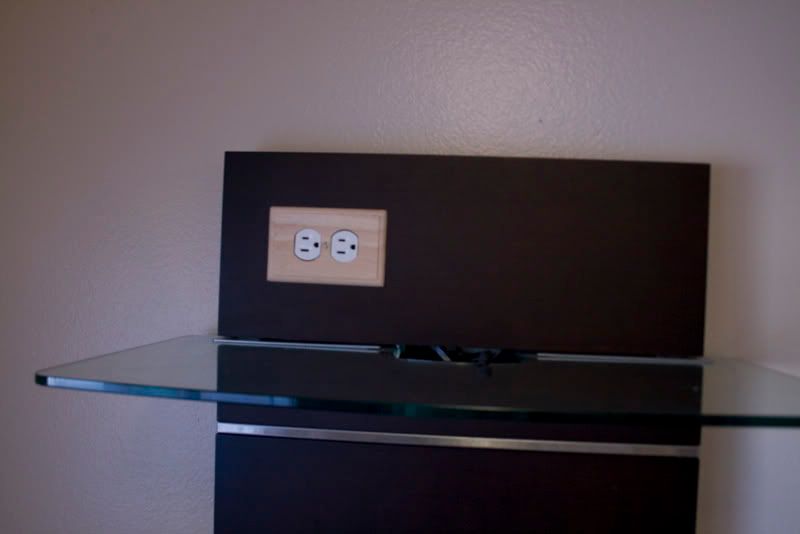
And a closeup on the custom outlet (that I never got around to stain matching) at the top:
Now, if that is naked, here it is skinned:
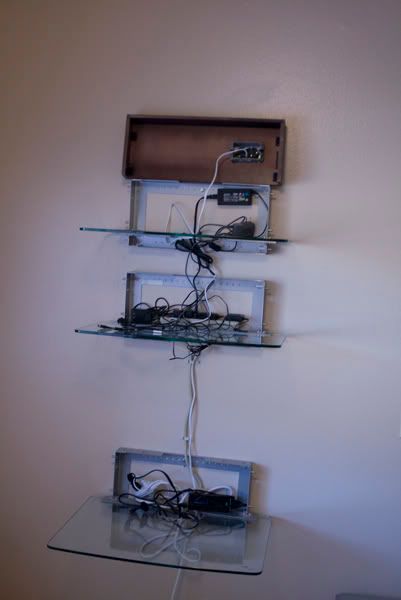
Its guts are a power strip, an extension cord with a grounded triplex end, and an outlet mounted power filtration-slash-surge protector-slash-overload protector (not shown) to make sure I don't light my house on fire. Oh, and some of that 3M double sided sticky stuff.
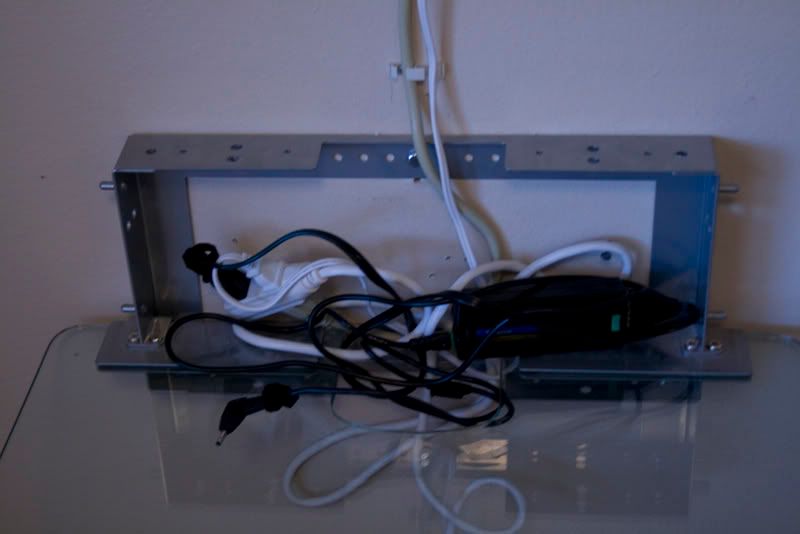
Behind the bottom cable management, I have the head for the triplex outlet. Into this I plug the power strip (which goes up to the next panel), the laptop charger (not shown properly installed--normally the brick gets 3m'ed to the wall and the unused cord ziptied), and the cord for the outlet on the third panel (because all my outlets in the power strip were taken)
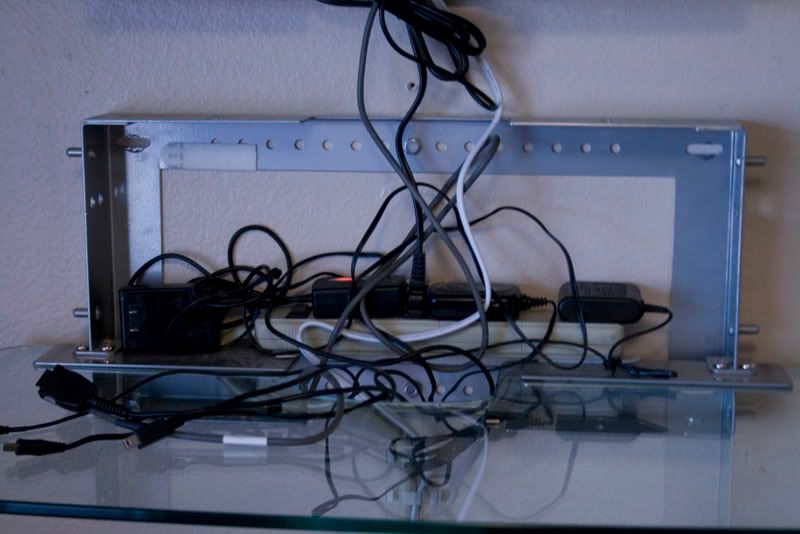
Behind the second panel, I have the power strip (stuck to the shelf) with all my chargers plugged in. I thought about getting some outlet extenders for maximum utilization, but I ended up just unplugging and alternating my less used chargers (you can see one not being used)...this panel is really easy to get on and off.
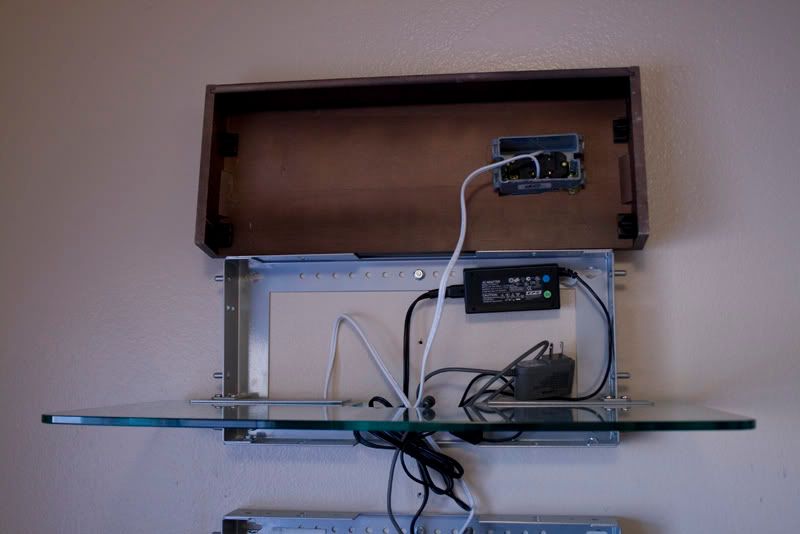
The third panel has the outlet mounted in it. I jigsawed a hole out of the cover, cut the back off a j-box, cut the head off an extension cord, and hardwired a plug onto an outlet (danger!!! do this at your own risk!!!...not suggested for houses with small children!!!). I flushed up the faceplate with the front of the panel, and then hotglued it from the back to hold everything in place.
You can also see the brick for my PSP charger stuck to the wall and the cord ziptied (this is how the laptop usually is), and a random charger I dont even remember the purpose of that somehow got built in.
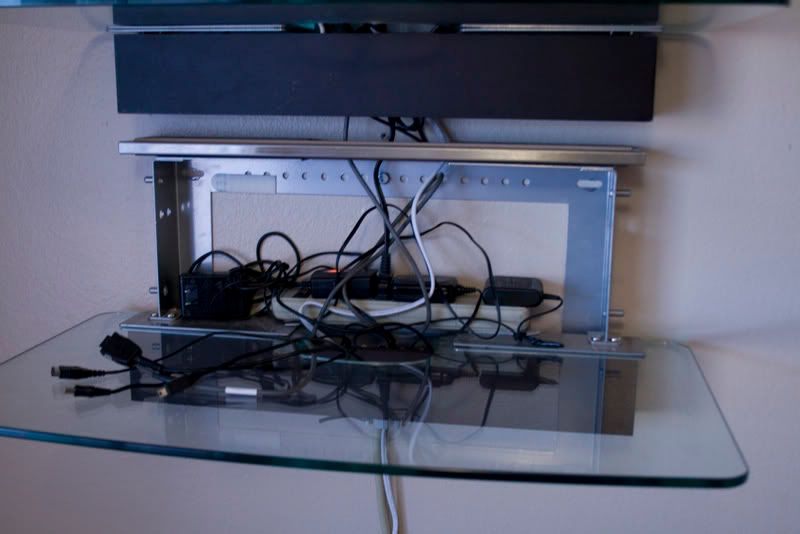
Functionally, this works great for me. Having all my chargers organized and in one place super simplifies my life, not to mention the convenience of having all my pocket stuff there, too. As you can see on the panel 3, there are clips that hold the covers on, so it's not hard to change things around, but, to make it even easier to change the main chargers in panel two, I didn't even put the clips on, and just have it be a perfect fit and let friction hold the panel, so I can take it off like so, and change my chargers:
Before I settled on this, I kicked around ideas using roller breadboxes with false bottoms, a drawer, an end table, an upside-down box with all my chargers in side and holes for the cords to come out. I know there are a couple commercial solutions that are similar, but I had never found anything with all of the exact functionality mine has, and definitely not with the same aesthetic.